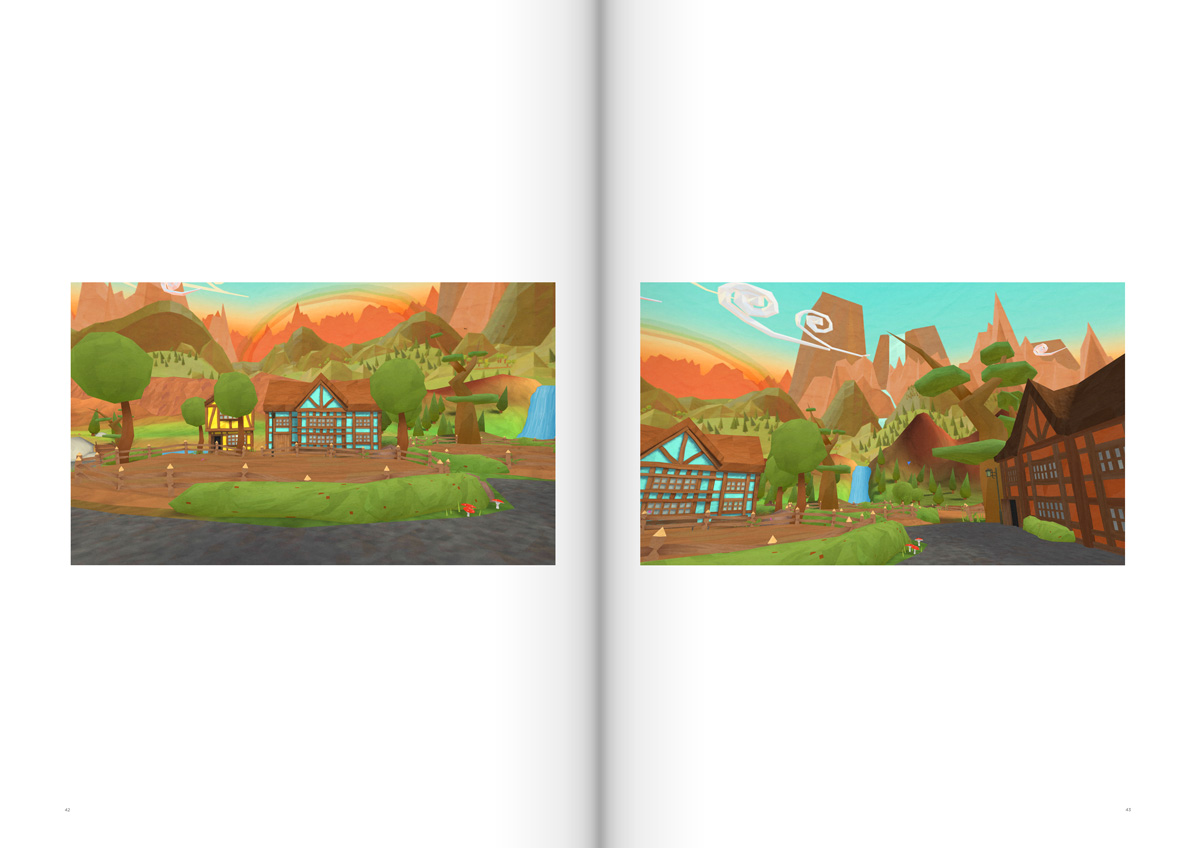
I felt the research for this project could perhaps have been expanded to help me produce a more informed and uniform art style. It seemed at the start I had this vision of a very harsh shaded world which really gave the impression of folded paper, but what I have ended up with is a more smoother 'child like' style lending itself more towards a Wii game instead of something of more artistic merit.
I believe this issue has come through using Unity3D as my game engine and restricting myself to mobile development, these two factors combine to make it much harder to produce high quality/semi-realistic rendering techniques. I have tried later on in the project to rectify this by rendering all of the assets in Cinema 4D using custom made material shaders which can better replicate the look of thick paper on the models (it also helped improve the antialiasing on the models and consistency of the lighting setup).

I felt it was quite a blurred line in terms of polycounts for objects (due to the variety of objects, workflows for polygon reduction and quantity and quality of assets) and also the ordering in which things were produced. Working solo on a project can really test you to see if you can stick to a 'regimented' way of working and many things can affect this process. I found if I had a particularly intensive week and fell behind on my schedule, I'd be doubling up some weeks and on others I'd advance other parts of the project that interested me more at the time messing up the schedule for the later weeks.
It might have been worth exploring UDK at the start of the project and doing some comparisons between the two game engines to see which would benefit me more visually as the end result for the project was not a game, it was a visual representation of the artwork for the game.

Character
I also believe like the art style, the cat needed a lot more research and development. I think through the project I realised I was much more interested in the design and visual appearance of the environment that surrounded the character than the character itself. I seemed to neglect the work I had to do on the cat until I HAD to do it, perhaps it was past experiences with animation and rigging characters that put me off. I found it quite hard to source any usable footage of cats walking in profile and frontal perspectives, or for that matter any movements (such as jumping, idleness etc)... which is surprising considering the internet is inundated with cat videos.

I felt the character needed to be defined more before I began designing him, I should have built up a back story which had solid foundations from the games core mechanics and then iterated concepts before jumping in with the modelling and texturing process.
I am glad that I did not settle with the first 3D iteration of the cat model, after review it became painfully obvious the cat looked very un-natural, thin and rigid. All these things came from other people reviewing my work, myself and through trying to animate the thing which was like animating 4 cocktail sticks to move like legs.

Scale of project
I'm quite happy that I managed to achieve so much on my own. To produce an entire world including landscape, character, the sky, the atmosphere, the foliage, structures and all the smaller details within the time frame alongside my other modules has proven to myself that I am capable of more than I thought.
I think at the start I was quite naive in my approach, it is hard at the start of a project to really know how much there will be to do and especially to try and plan an entire years work is no easy task. The problem is everything is based on estimations as this isn't something I have done before, so if one section of the project was underestimated it creates a back log of work which can lead to becoming enthused with the project.
I believe one of the core things I will definitely take through to new projects from this one is having a good workflow. It took me a month or so to really get a good 'flow' for my work method, understanding how I would get from concept to implementation and maintain a consistent quality was a real worry for me at the start.
After much trial and error, and experimenting with software that either sped up or hindered the process I managed to get something that worked for me. Here is a simplified diagram of the process...
Workflow
Asset List > Drawing/Concept > 3D Model > Unity > Block colour >Optimise 3D Model > Texture > iterations L/M > Render Book
It has also made obvious why so many studios have different pipelines for the asset production. Each game is so unique that it requires a tailor made process to produce the assets to a standard that looks right. Not to forget the advances being made in technology year on year, as studios embrace and tailor new softwares to suit their needs.
Coding
I had hoped I wouldn't have to get involved much with coding as it isn't really a big part of the criteria for this project, but it was unavoidable. Designing assets for a game required me to implement the objects in to the actual game world and view/use them from a players perspective. I created a simple character controller and through learning Mechanim (Unity's new animation module) I hacked a movable character together to be used to test things. I later implemented a few actions the player could do, such as chopping a tree down and mining ore. The final piece of code required was to allow scene switching, this was important to get a feel for the change over between spaces and to see how (and if) it worked.

Book
I think the end result of my project was a little rushed. I hadn't taken in to account render times (which were 30 minutes per object), composing the book together and ultimately getting it printed. I had been quoted 14 working days for an A3 high quality book, by this time I had two weeks remaining on the project and still had to render and compose half the book. I have for this reason fell short on what I hoped I could put inside the book. Some of these things are not necessarily stated in the project plan, for example I wanted to make 3 iterations of each model inside the book (using an appendix to show the low/medium poly models, linked through alphabetical/numerical order). I also wanted to include more renders from Cinema 4D of the landscape and interior scene.

I have purposefully excluded any GUI from the book as I felt it would break the layout and flow of the book, but more importantly I didn't feel the GUI elements stood out enough to warrant its own pages within the book itself. I had hoped I could include the texture maps for all of the 3D elements too, but again it didn't suit what I already had within the book.
Summary
Ultimately it has been a great experience, to be given the opportunity to develop myself at my own pace with a project set by me is something I haven't experienced before. I learned an awful lot from trial and error, and I believe that is one of the most effective ways to learn and remember processes and software specific tasks. What I have come out with is something (when printed) I can take to future interviews and feel confident in the quality and quantity of my work.